
Installing the app from Atlassian Marketplace:
You can install TicketBook - Service Time and Contract Management for Jira from the Atlassian Marketplace.
-
Navigate to Atlassian Marketplace.
-
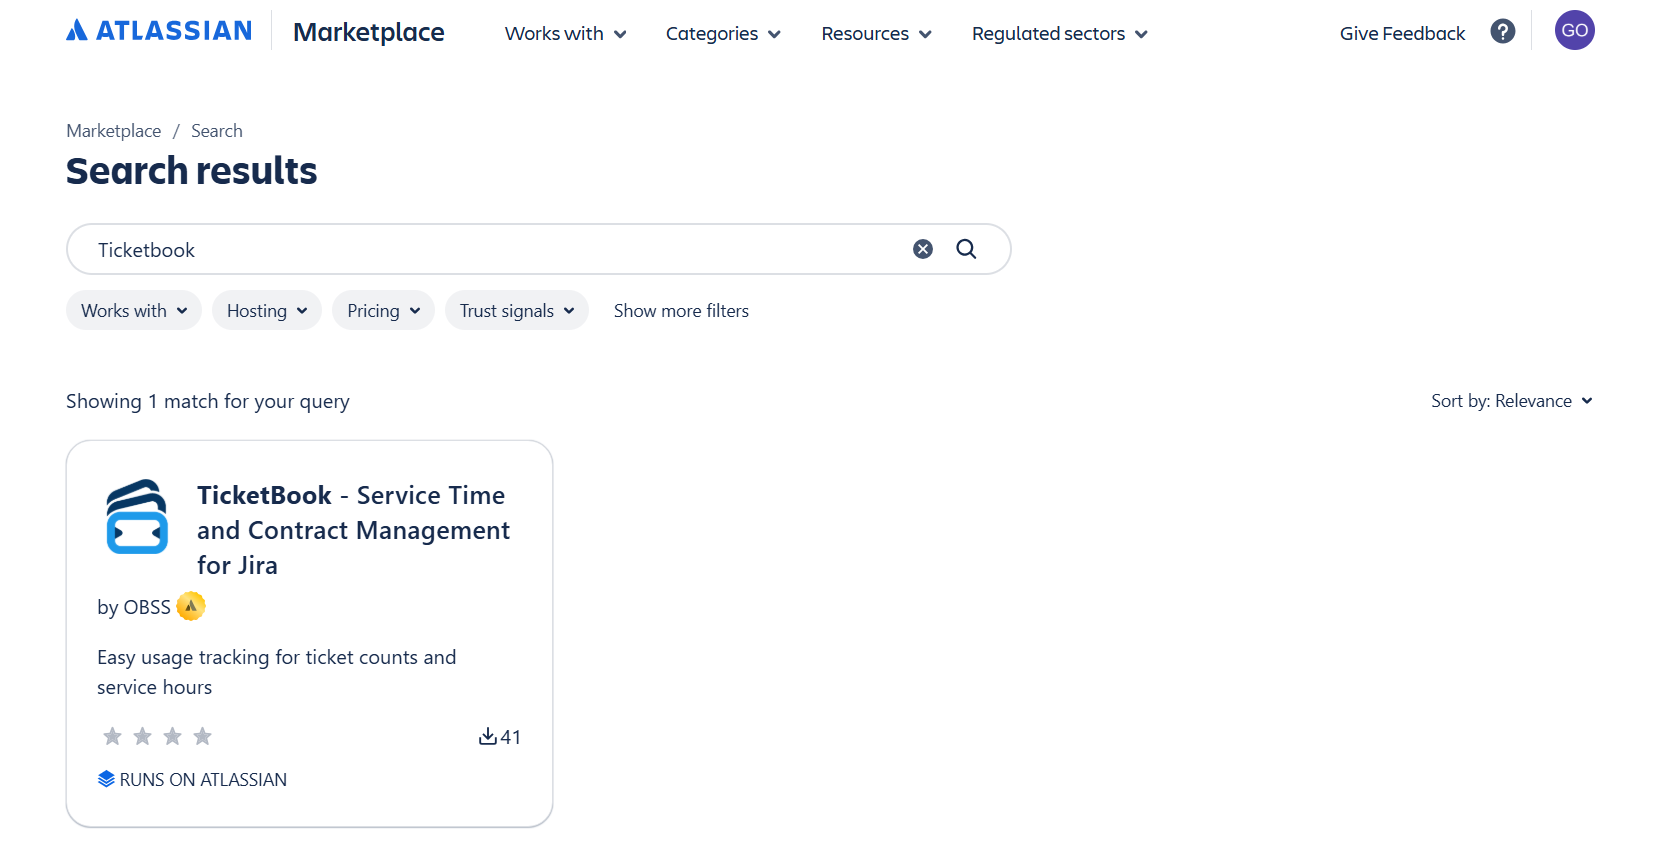
Enter TicketBook in the search box. Search results will appear.
-
Click on TicketBook.
-
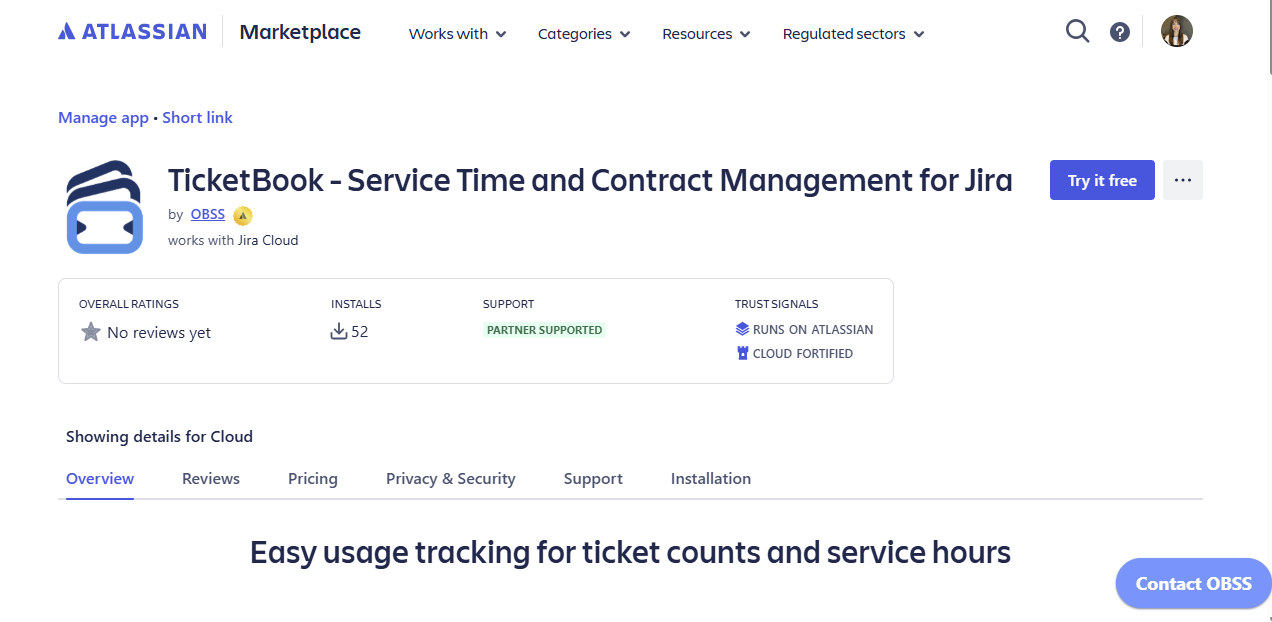
TicketBook - Service Time and Contract Management for Jira app page will open.
-
Click on Try it free
-
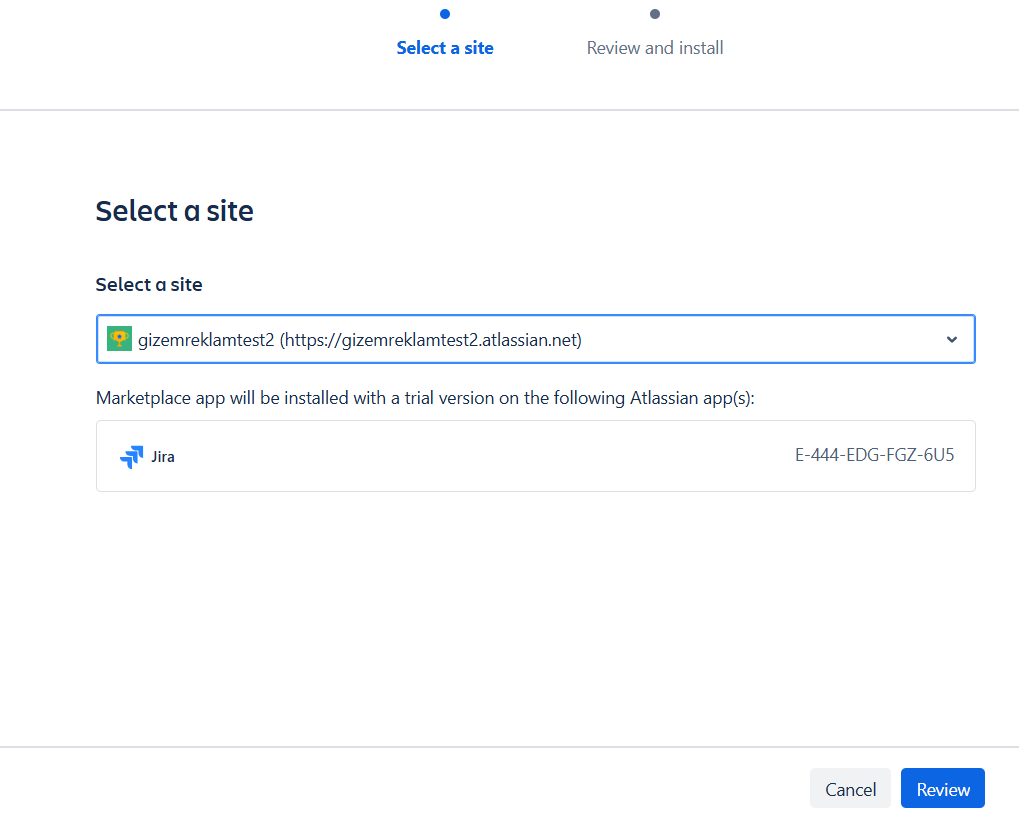
Site selection window will pop. Select the Jira site you want to install the app on and click Review.
-
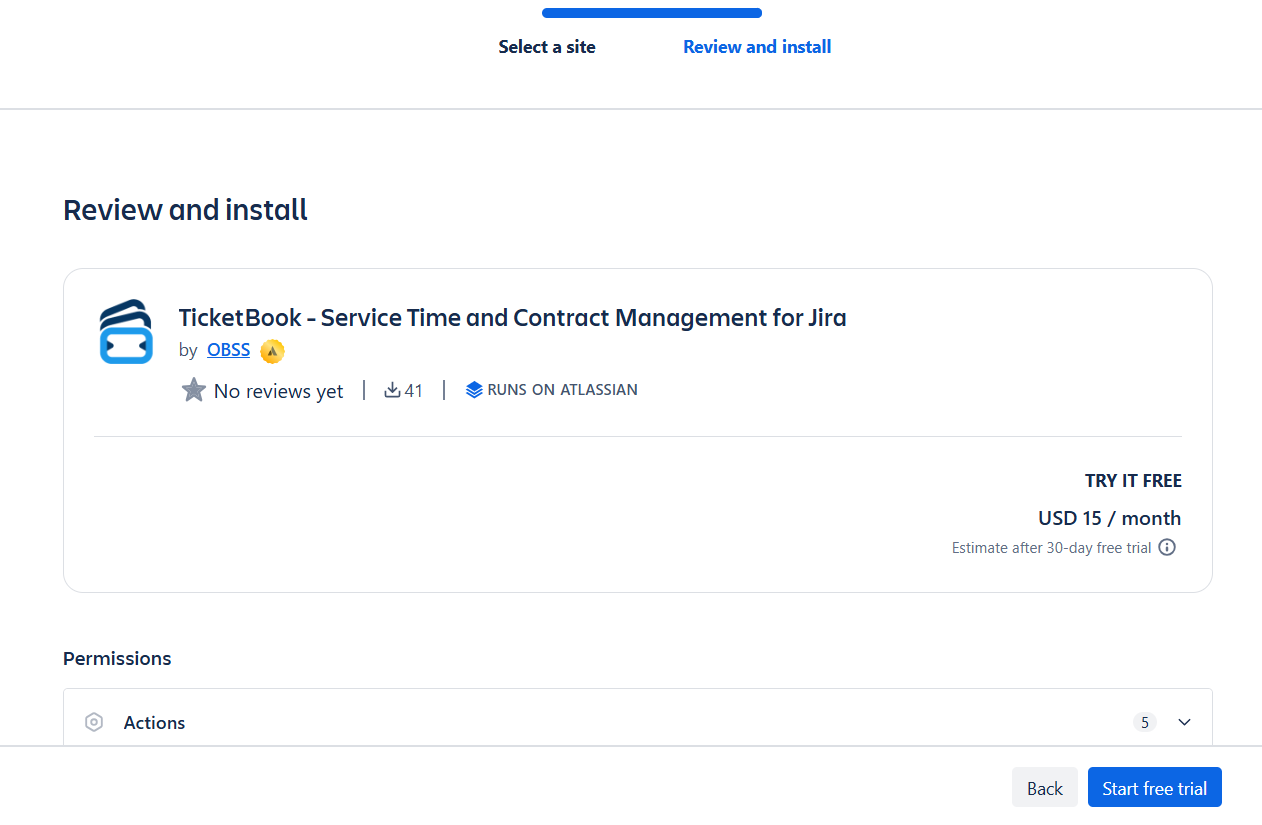
Review the page and click Start Free Trial
-
Atlassian will install the app on your Jira site and grant you a 30-day free evaluation license.
-
You are done 🙂 TicketBook is now installed and ready to use.
After Installation
Once TicketBook is installed, it will appear under the Apps menu in your main Jira navigation. Clicking the TicketBook link will take you directly to the Contract Definitions screen, where you can start creating and managing your service contracts.
For details on how to navigate the app after installation, see Accessing TicketBook.
Licensing
The 30-day free trial gives you full access to all TicketBook features. When the trial period ends, you will need an active license to continue using the app. Licensing is handled through Atlassian's standard Marketplace billing. You can manage your license at any time from Jira Admin Settings → Manage Apps.
For questions about licensing or pricing, visit the TicketBook Marketplace page.