
Timepiece - Time in Status for Jira does not require any configuration up-front. Once it is installed in your Jira Cloud instance and the license is installed by Atlassian, you are good to go.
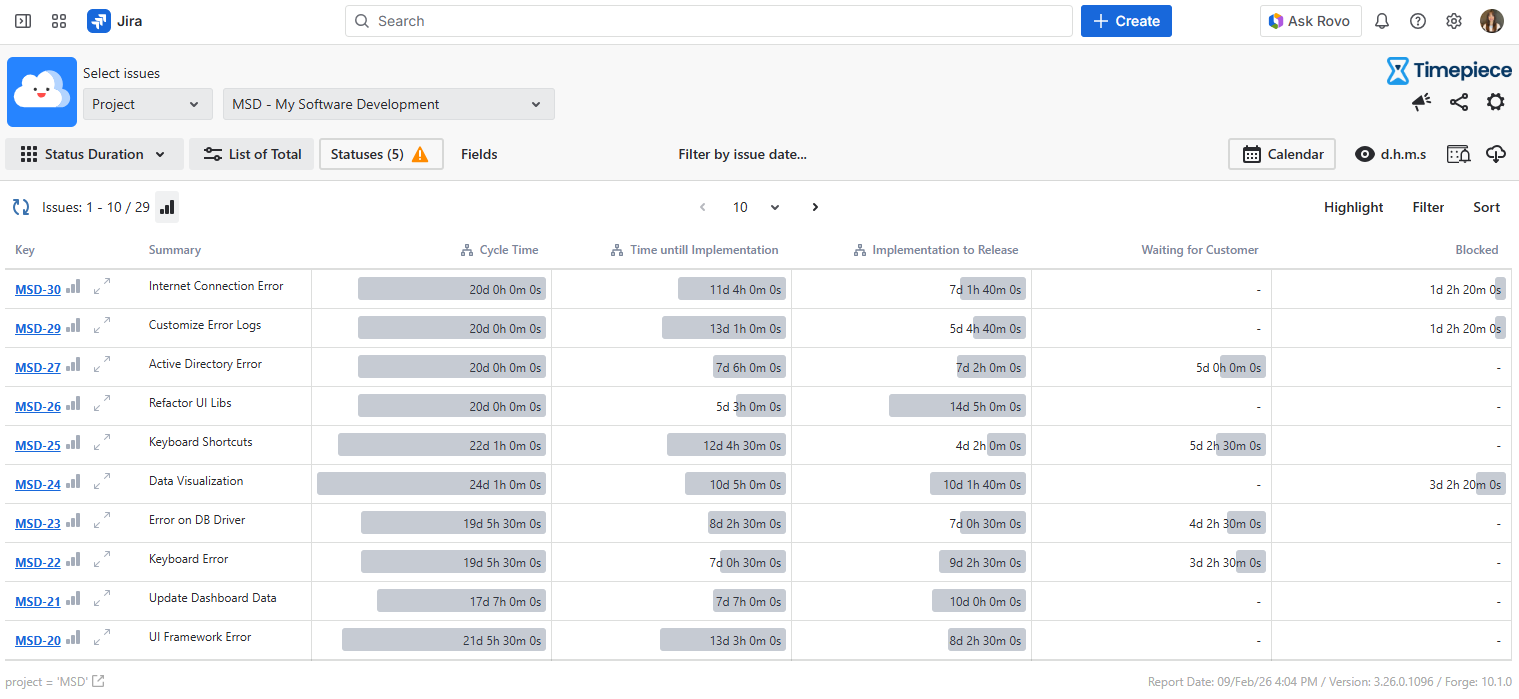
Timepiece will be added as a menu item under your Apps Menu. You can click on this link and Timepiece report screen will appear as shown in the image above.
First pick one of the filter types from the top of the page. You can select ...
-
User, which filters issues that are or were assigned to a user you select
-
Project, which filters issues in a project you select
-
JQL Filter, which filters issues based on a JQL filter you select.
-
Sprint Filter, which filters issues based on a Sprint you select.
-
Custom JQL, which filters issues based on a custom JQL that you write.
You can set the report type using the report type selector. For more information on Report Types, see Report Types
For more information on report parameters, see Reporting Page
For information about defining your own business calendars, see Configuration
For information on exporting data and calculating averages, see Exporting
To get support, see Support